We all know that clicking on the checkerboard next to a shader's attributes opens up the ol' "create render node" window in Maya, and that gives you a list of 2D and 3D texture nodes to choose from. But a lot of people I talk to don't know that you can click on the materials tab and choose a shader instead. This can come in handy if you need a quick skin shader, or if you have a bunch of different colored objects that all have the same specular attributes, or any number of other looks or workarounds you want to achieve. Just experiment and see what you can come up with.
I'll show you how to use this trick to make a carpaint shader.
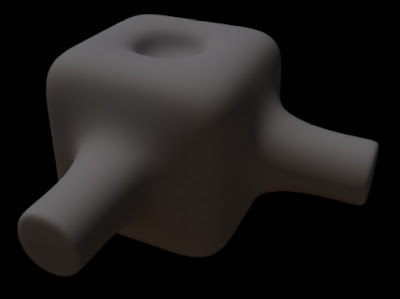
Here's a little test object I like to use with a quick light setup. I'm using final gathering with an HDR mapped to a sphere and a directional light.
I'm gonna go for a red shader. I just saw Iron Man the other day, so that probably has something to do with it. I'm keeping it kinda dark, because this effect is additive, and you don't want it to get blown out.
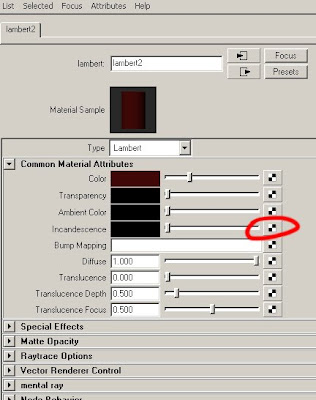
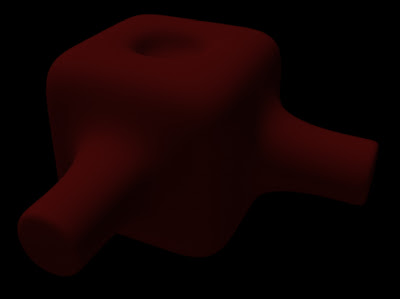
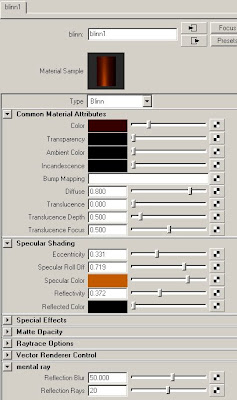
Now, I click on the incandescence channel and choose a Blinn shader. This is our metallic paint layer.
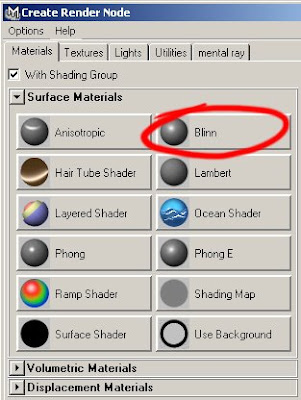
I mess around with a dark color again (ultimately deciding on a very similar red as the base color), and then I adjust the specular attributes to make a dull orangish shine. Notice that I also turned reflection blur up to 50 in the mental ray section. For animation, I'd probably have to turn the number of reflection rays up, but for a still at this resolution, 20 does just fine.
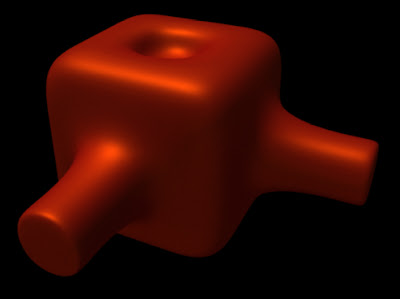
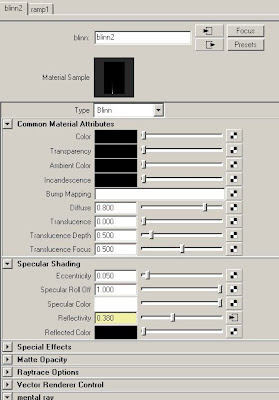
Now, we're going to click this incandescence channel and add another blinn. Set this one's color to black, because we only want the specularity/reflections to show up, since this is for the clear coat. We want small specular highlights and just the brightest parts of the reflection to show up, so set the eccentricity and reflectivity fairly low. I added a ramp to the reflectivity for a falloff. There's plenty of tutorials out there for this, so if you don't know how to do this, just google "fresnel maya" and you should find plenty of info.
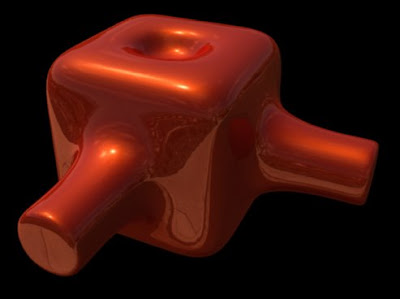
And this is what we have when we're done.
This is what I love about Maya. It lets you connect so much stuff that you normally wouldn't think to put together. So, fool around with connecting shaders to shaders and see what crazy sexy cool looks you can come up with.
No comments:
Post a Comment